

Translate Tech Demo Videos for Export Markets
Selling electronics internationally is not just a logistics problem. It is a communication problem.
The moment a buyer in Germany, Japan, or Brazil can’t follow your setup steps, misses a safety warning, or misunderstands a key feature, your demo video stops being a conversion asset and starts creating hesitation, returns, and support tickets.
I’ll show you how to translate electronics and tech product demo videos for export in a practical, repeatable way, including what to translate (and what not to), how to choose between subtitles and dubbing, and how to quality-check technical details like specs, units, and compliance language.
Along the way, you’ll see where AI tools can help you scale, and where a human review is still non-negotiable.
What is electronics product demo video translation?
Electronics product demo video translation is the process of adapting a product demonstration video so it works in another language and market.
That typically includes:
- Translating the script and on-screen instructions
- Creating subtitles (with correct timing and line breaks)
- Creating dubbed audio (often with voice preservation)
- Optional lip sync so the presenter’s mouth matches the translated speech
- Localizing measurements, compliance references, and culturally specific phrasing
When done well, your localized demo feels like it was originally produced for that market, which is exactly what export buyers expect in 2026.
A helpful context point: multiple industry sources now cite that 40 percent of YouTube views come from non-English-speaking audiences, yet many brands still publish only in English. This gap is a big reason video localization budgets are rising, with forecasts putting the global video localization market at $4.02 billion in 2026.
Step 1: Pick the right demo format for where the video will live
Before you translate anything, lock the format. The biggest localization mistake is translating a video that was never designed to convert on the target placement.
Step 1 checklist
Match the cut to the channel
Decide where the demo will be watched (product page, paid social, support center, marketplace listing). Then set length, pacing, aspect ratio, and “first 3 seconds” hook based on that placement before you translate.
Best-practice benchmarks (useful starting points):
- For product pages, keep the core demo short. Ecommerce guidance commonly recommends about 60 to 120 seconds for product-page demos.
- For top-of-funnel website visitors, keep demos under three minutes unless the viewer is already highly intent and evaluating details.
Practical rule for export markets: Build one “master” product demo, then create localized cuts for:
- Product page (short, outcome-first)
- Paid social (vertical, captioned, fast hook)
- Support and onboarding (longer, step-by-step)
Why it matters: translating one long “do everything” video is expensive, and viewers bail early if the first frames are not immediately relevant. One ecommerce best-practices guide notes that if the opening isn’t relevant, you can lose a large portion of viewers in the first seconds, which makes every translation dollar less effective.
Step 2: Write a translation-ready script (even if the original is unscripted)
If your current demo is improvised, you can still localize it, but you should create a source script first. That script becomes the single source of truth across every language.
Step 2 checklist
Turn the demo into a clean source script
Even if the original is unscripted, transcribe it and edit it into a clear script you can translate consistently across subtitles, dubbing, and on-screen text.
Translation-ready script rules for tech demos:
- Use short sentences and plain language (it reduces awkward “over-translation”)
- Say numbers clearly (avoid “about” or “ish” when specs matter)
- Name the product and model consistently
- Separate marketing lines from instructional lines
- Avoid idioms (they rarely survive direct translation)
Example (good): “Press and hold the power button for three seconds. The status light turns blue.”
Example (risky): “Hold the button for a bit until you see the light kick in.”
For electronics video translation ecommerce, clarity beats personality. You can add brand voice later in the localized marketing cut, but the product page demo should stay precise.
Step 3: Decide: subtitles, dubbing, or dubbing plus lip sync?
There is no single best method. The right choice depends on complexity, audience, and where the video is watched.
Step 3 checklist
Choose a localization mode per use case
Use subtitles when the demo is simple and visual, dubbing when steps and safety matter, and add lip sync when the presenter’s face is on screen and “native feel” affects trust or ad performance.
When subtitles are enough
Subtitles work well when:
- The demo is simple and visual
- Buyers already expect to read captions (social feeds)
- The budget is limited and you need many languages quickly

When dubbing is the better default
Dubbing is often better when:
- The demo includes steps, setup, pairing, troubleshooting, or safety details
- You show an app interface or settings flow
- The audience watches on mobile while multitasking
A common localization insight is that spoken audio reduces cognitive load for complex content compared with reading subtitles while also trying to follow what’s happening on screen.
When you should add lip sync
Lip sync helps most when:
- A presenter is on camera for long stretches
- Trust and credibility matter (premium electronics, B2B devices)
- You are running localized ads where “naturalness” affects performance
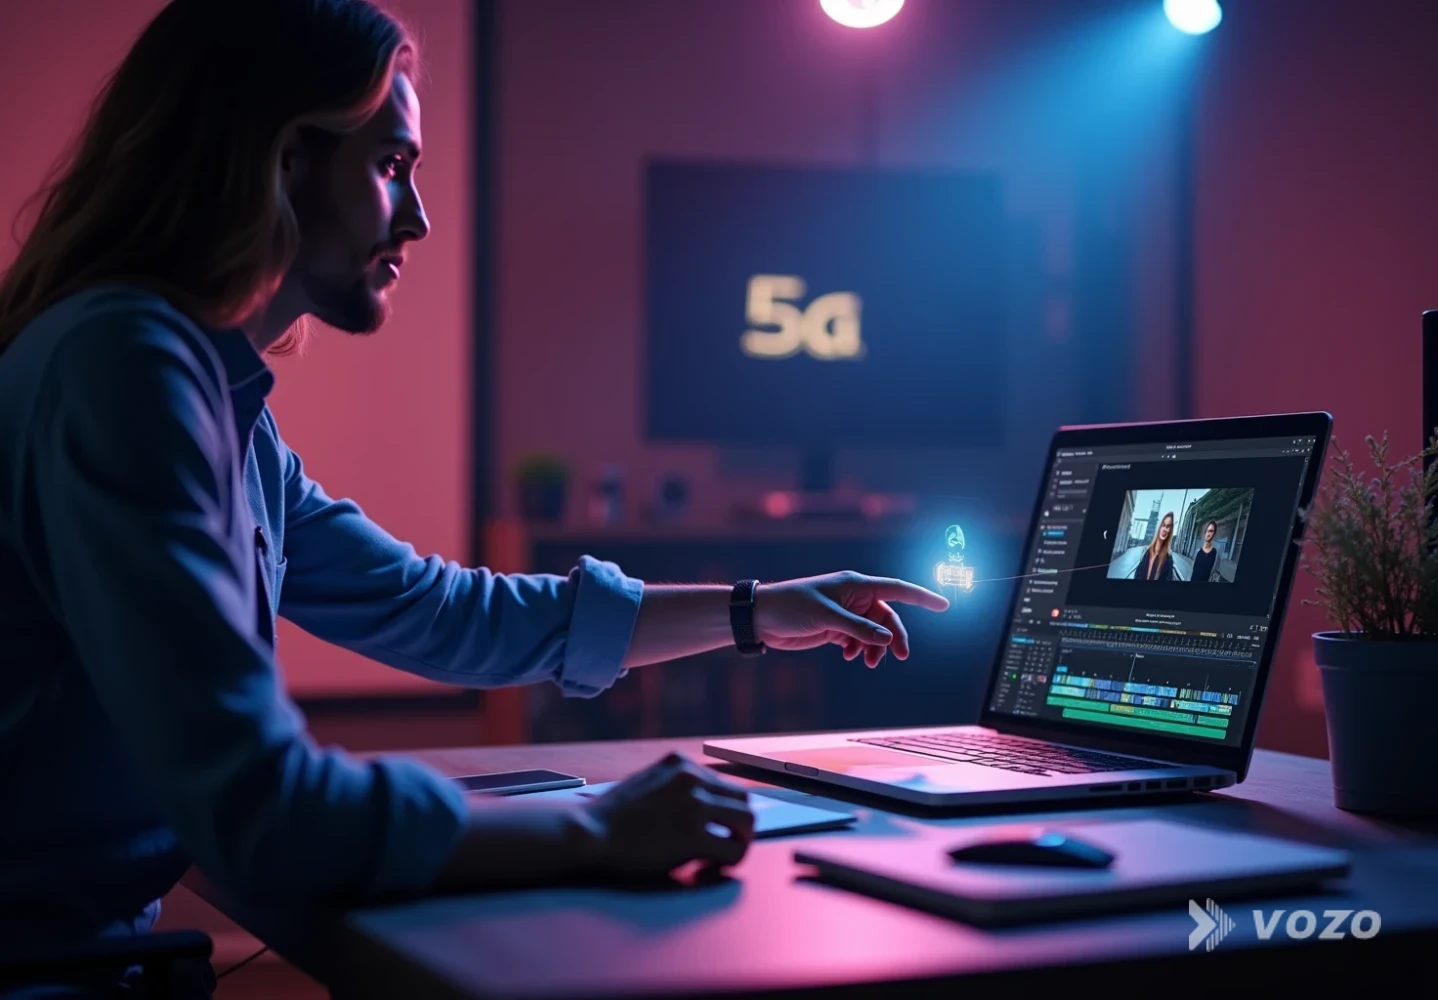
Editorial pick for scaling this step: If you want an all-in-one workflow to translate electronics product demo video content with natural dubbing, voice preservation, and optional mouth matching, Vozo’s Video Translator is built for exactly that. It supports translation into 110+ languages with voice cloning (VoiceREAL) and optional lip sync (LipREAL), plus a built-in editor to proofread and refine the transcript before you export.
If you already have clean audio tracks (like a voiceover-only demo), Vozo’s Audio Translator is also useful for turning that narration into other languages while preserving tone.
Step 4: Localize the technical details (this is where exports win or lose)
Export buyers scrutinize details. That means tech product video localization export is not only language translation. It is technical localization.
Step 4 checklist
Verify every market-specific claim
Create a “do not guess” checklist and validate units, power standards, wireless specs, compliance language, warranty terms, and regional feature differences before publishing.
Create a “do not guess” checklist and verify every item:
- Units and measurements (mm vs inches, Celsius vs Fahrenheit)
- Voltage and plug standards (especially for chargers and adapters)
- Wireless standards and regional features (LTE bands, Wi‑Fi specs)
- Regulatory and safety statements (only include what is accurate per market)
- Warranty and support claims (match the export policy)
- App store availability and feature differences by region
Example pitfall: A demo says “works with any outlet,” which may be true with an included adapter in one region but false elsewhere. Translation makes that claim travel farther, faster, and into more legal risk.
Also protect privacy: If you show dashboards, logs, or customer info during a demo, scrub it. Some demo best-practice guidance warns that real customer data in demos can create privacy and security risks that derail deals.
Step 5: Translate on-screen text and UI overlays (not only the audio)
Electronics demos often include on-screen callouts, app UI screen recordings, packaging shots, ports, button labels, safety icons, and quick-start overlays. If you only translate the voice track, you can still leave the buyer stuck.
Step 5 checklist
Localize what the viewer must act on
Translate UI overlays, callouts, and screen-recorded flows when they affect setup, safety, or purchase decisions, and keep terminology consistent with a lightweight glossary.
Decide what must be localized versus what can stay as-is.
Rule of thumb: If the viewer needs it to complete setup, understand safety, or make a purchase decision, localize it.
Fast workflow tip: Maintain a simple glossary for:
- Feature names
- Button labels
- App menu terms
- Error messages
This prevents inconsistent translations like “pairing mode” becoming three different phrases across one video and its subtitles.
Step 6: Generate dubbing, then edit for timing, emphasis, and numbers
Once the script translation is done, the next challenge is pacing.
Step 6 checklist
Make the translated audio match the visuals
Adjust phrasing, extend B-roll, and refine emphasis so instructions land exactly when the on-screen action happens, especially around taps, LED behavior, and timed holds.
Electronics demos are full of timing-sensitive moments:
- “Now tap Continue”
- “Wait for the LED to blink”
- “Hold for three seconds”
If the translated audio runs longer, you may need to:
- Slightly tighten the phrasing (without changing meaning)
- Extend B-roll shots
- Add quick cutaways to hands, device close-ups, or app screens
Numbers are the number one QC issue. Check:
- Model numbers
- “60” vs “16”
- Decimal separators (some locales use commas)
- “gigabit” vs “gigabyte” type confusion
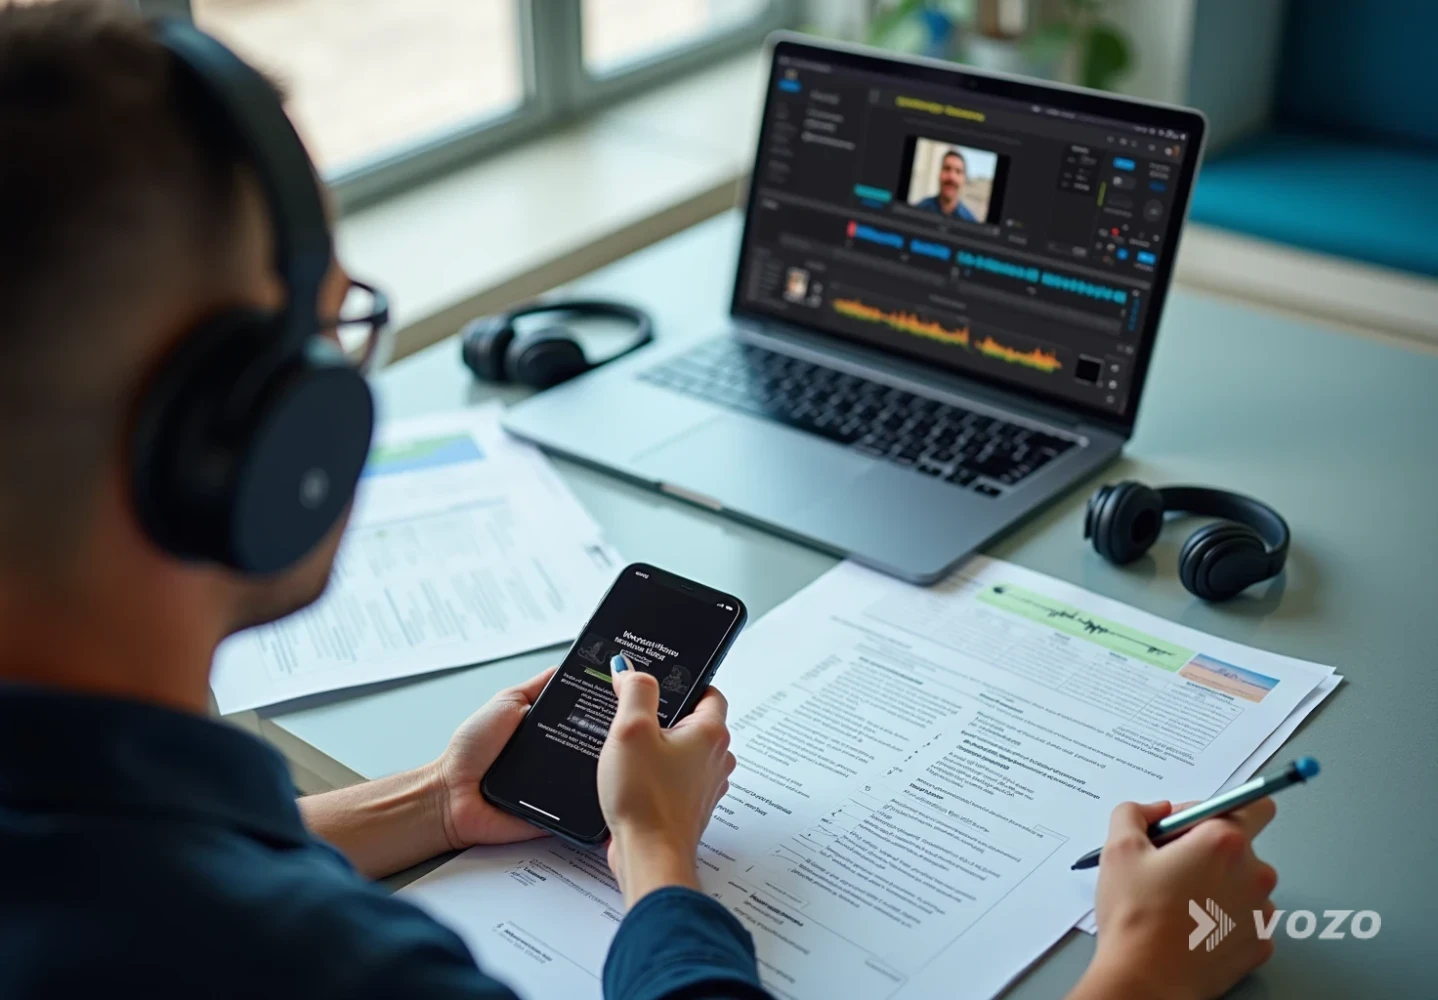
Where Vozo helps here: Vozo’s Voice Studio (Video Rewrite) is useful when the dubbing is almost right but needs targeted fixes, like rewriting one sentence, correcting a number, or smoothing pacing without re-recording the entire video.
Step 7: Add lip sync where it pays off (and skip it where it does not)
Lip sync is most valuable when the speaker’s face is a focal point. It’s less important when the video is mostly hands-on close-ups, relies heavily on screen capture, or already cuts frequently to product shots.
Step 7 checklist
Use lip sync selectively for trust and ads
Prioritize lip sync for presenter-led segments where naturalness changes perception, and skip it for screen recordings or fast-cut product footage where it adds time without meaningful gains.
If you need high-quality mouth matching, a dedicated tool can be cleaner than forcing it inside a general editor.
Vozo’s standalone Lip Sync tool is designed to match video to any audio with natural mouth movement, including multi-speaker scenes.
Practical tip: even with great lip sync, avoid extreme close-ups of the mouth for long continuous lines. Mix in product shots and UI footage to keep edits natural.
Step 8: Create export-ready variants for ecommerce, ads, and support
Now that you have one localized version, turn it into a pack. Export performance usually improves when the cut matches buyer intent, not when every audience is forced through the same timeline.
Step 8 checklist
Ship a localized “video pack,” not a single file
Create multiple deliverables per language for product pages, vertical social, setup walkthroughs, and FAQ micro-clips so each channel gets the right length, format, and pacing.
Minimum recommended deliverables per language:
- Product page version (60 to 120 seconds, outcome-first)
- Vertical social cut (15 to 30 seconds, captions burned in)
- Setup walkthrough (2 to 5 minutes, slower pacing)
- FAQ micro-clips (10 to 20 seconds each, one problem per clip)
If you already have longer demos, automate repurposing. Vozo’s Long to Shorts can convert long videos into multiple short clips with auto-reframing and animated subtitles, which is useful for scaling multilingual ad creatives.
Step 9: QA like a tech company, not like a media team
Treat localization QA as part linguistics, part product validation. A translation can be fluent and still be wrong in a way that causes returns or compliance risk.
Step 9 checklist
Validate language, specs, and playback in-channel
Confirm terminology, units, and compliance statements, then test subtitles and audio on mobile and finally export the correct aspect ratios and codecs for every target platform.
A practical QA checklist:
- Terminology matches your glossary across audio and captions
- Specs, numbers, and units are correct
- Safety and compliance statements are accurate for the market
- Subtitles are readable on mobile (line length and timing)
- Audio does not mask key device sounds (beeps, clicks, confirmation tones)
- CTA matches the market (correct website, marketplace, support channel)
- Final video renders in the right aspect ratios and codecs for each channel
If you sell through marketplaces and your product page loads slowly, be careful with how you embed video. Ecommerce performance guidance notes that slow video players and extra seconds of load time can hurt conversions more than the video helps.

Pros and cons of common translation methods
Subtitles only
Pros
- Fast and cost-effective for many languages
- Great for silent autoplay environments
- Easy to update when specs change
Cons
- Lower comprehension for complex setup steps
- Harder to watch on small screens while multitasking
- Less “native” feel for presenter-led demos
Dubbing (voiceover) without lip sync
Pros
- Higher clarity for technical explanations
- Feels more local and premium than subtitles alone
- Works well for screen recordings and hands-only demos
Cons
- Requires audio pacing and mix work
- Mistakes in numbers or terms can sound more authoritative, so QA is critical
Dubbing plus lip sync
Pros
- Best perceived naturalness for presenter-led videos
- Strong for paid ads and high-trust product categories
- Reduces the “translated” feel significantly
Cons
- Higher processing and review time
- Not necessary for videos that rarely show the speaker’s face
A simple example workflow (electronics ecommerce)
Imagine you sell a smart doorbell for export markets. Here’s a clean, repeatable workflow that keeps conversion goals and technical accuracy aligned.
Example workflow
Build a 90-second master demo
Show the installation outcome first, then the key steps. Keep it tight for product pages, and plan longer support cuts separately.
Script the details that matter
Include exact drill size, Wi‑Fi requirements, and app pairing steps so nothing important is left to interpretation during translation.
Choose target languages based on sales strategy
Prioritize Spanish, German, and Japanese (or your own top markets) so budget goes where export demand is real.
Dub while preserving presenter tone
Keep the same friendly delivery across languages so the brand feels consistent, not like a different company per region.
Localize units and power notes
Convert inches to millimeters where appropriate, confirm voltage and adapter statements, and remove any claims that are not true in a specific market.
Create channel variants
Produce a vertical ad cut, a longer setup video, and troubleshooting micro-clips so you cover discovery, purchase, and post-purchase support.
QA against the localized app UI
Confirm button labels match the localized app screens and that every number is correct, including model names and network requirements.
Publish across sales and support surfaces
Deploy to the product page, marketplace listing, support center, and ad library so customers see consistent guidance everywhere.
Export growth favors speed plus technical accuracy
Export markets reward clarity. The brands that win are the ones that translate tech product videos for international markets quickly, keep technical details correct, and ship localized variants tailored to where buyers actually watch.
If you want a practical place to start, take your best-performing demo, localize it into one high-potential language, and measure:
- Product page conversion rate
- Return reasons
- Support ticket volume tied to setup confusion
To scale from there, use an end-to-end workflow like Vozo Video Translator for natural dubbing, voice preservation, and optional lip sync, plus built-in editing for QA.
Once your first localized pack is live, you’ll have a repeatable process for every new product launch and every new region.