Glossary is available to Studio and higher-tier members.
What Is a Glossary?
A Glossary ensures consistent translation and pronunciation of specific terms across your project. This is especially useful for:- Brand names
- Industry-specific terminology
- Names and proper nouns
- Fixed expressions that shouldn’t be translated
Create a Glossary
To create and manage glossaries:- On the Dashboard, click the Glossaries tab in the left sidebar.
- You will see a list of all glossaries you’ve created, along with their language pairs and number of terms.
- Click New Glossary to create a new glossary.
- Add new term pairs
- Edit or delete existing terms
- Import terms via CSV
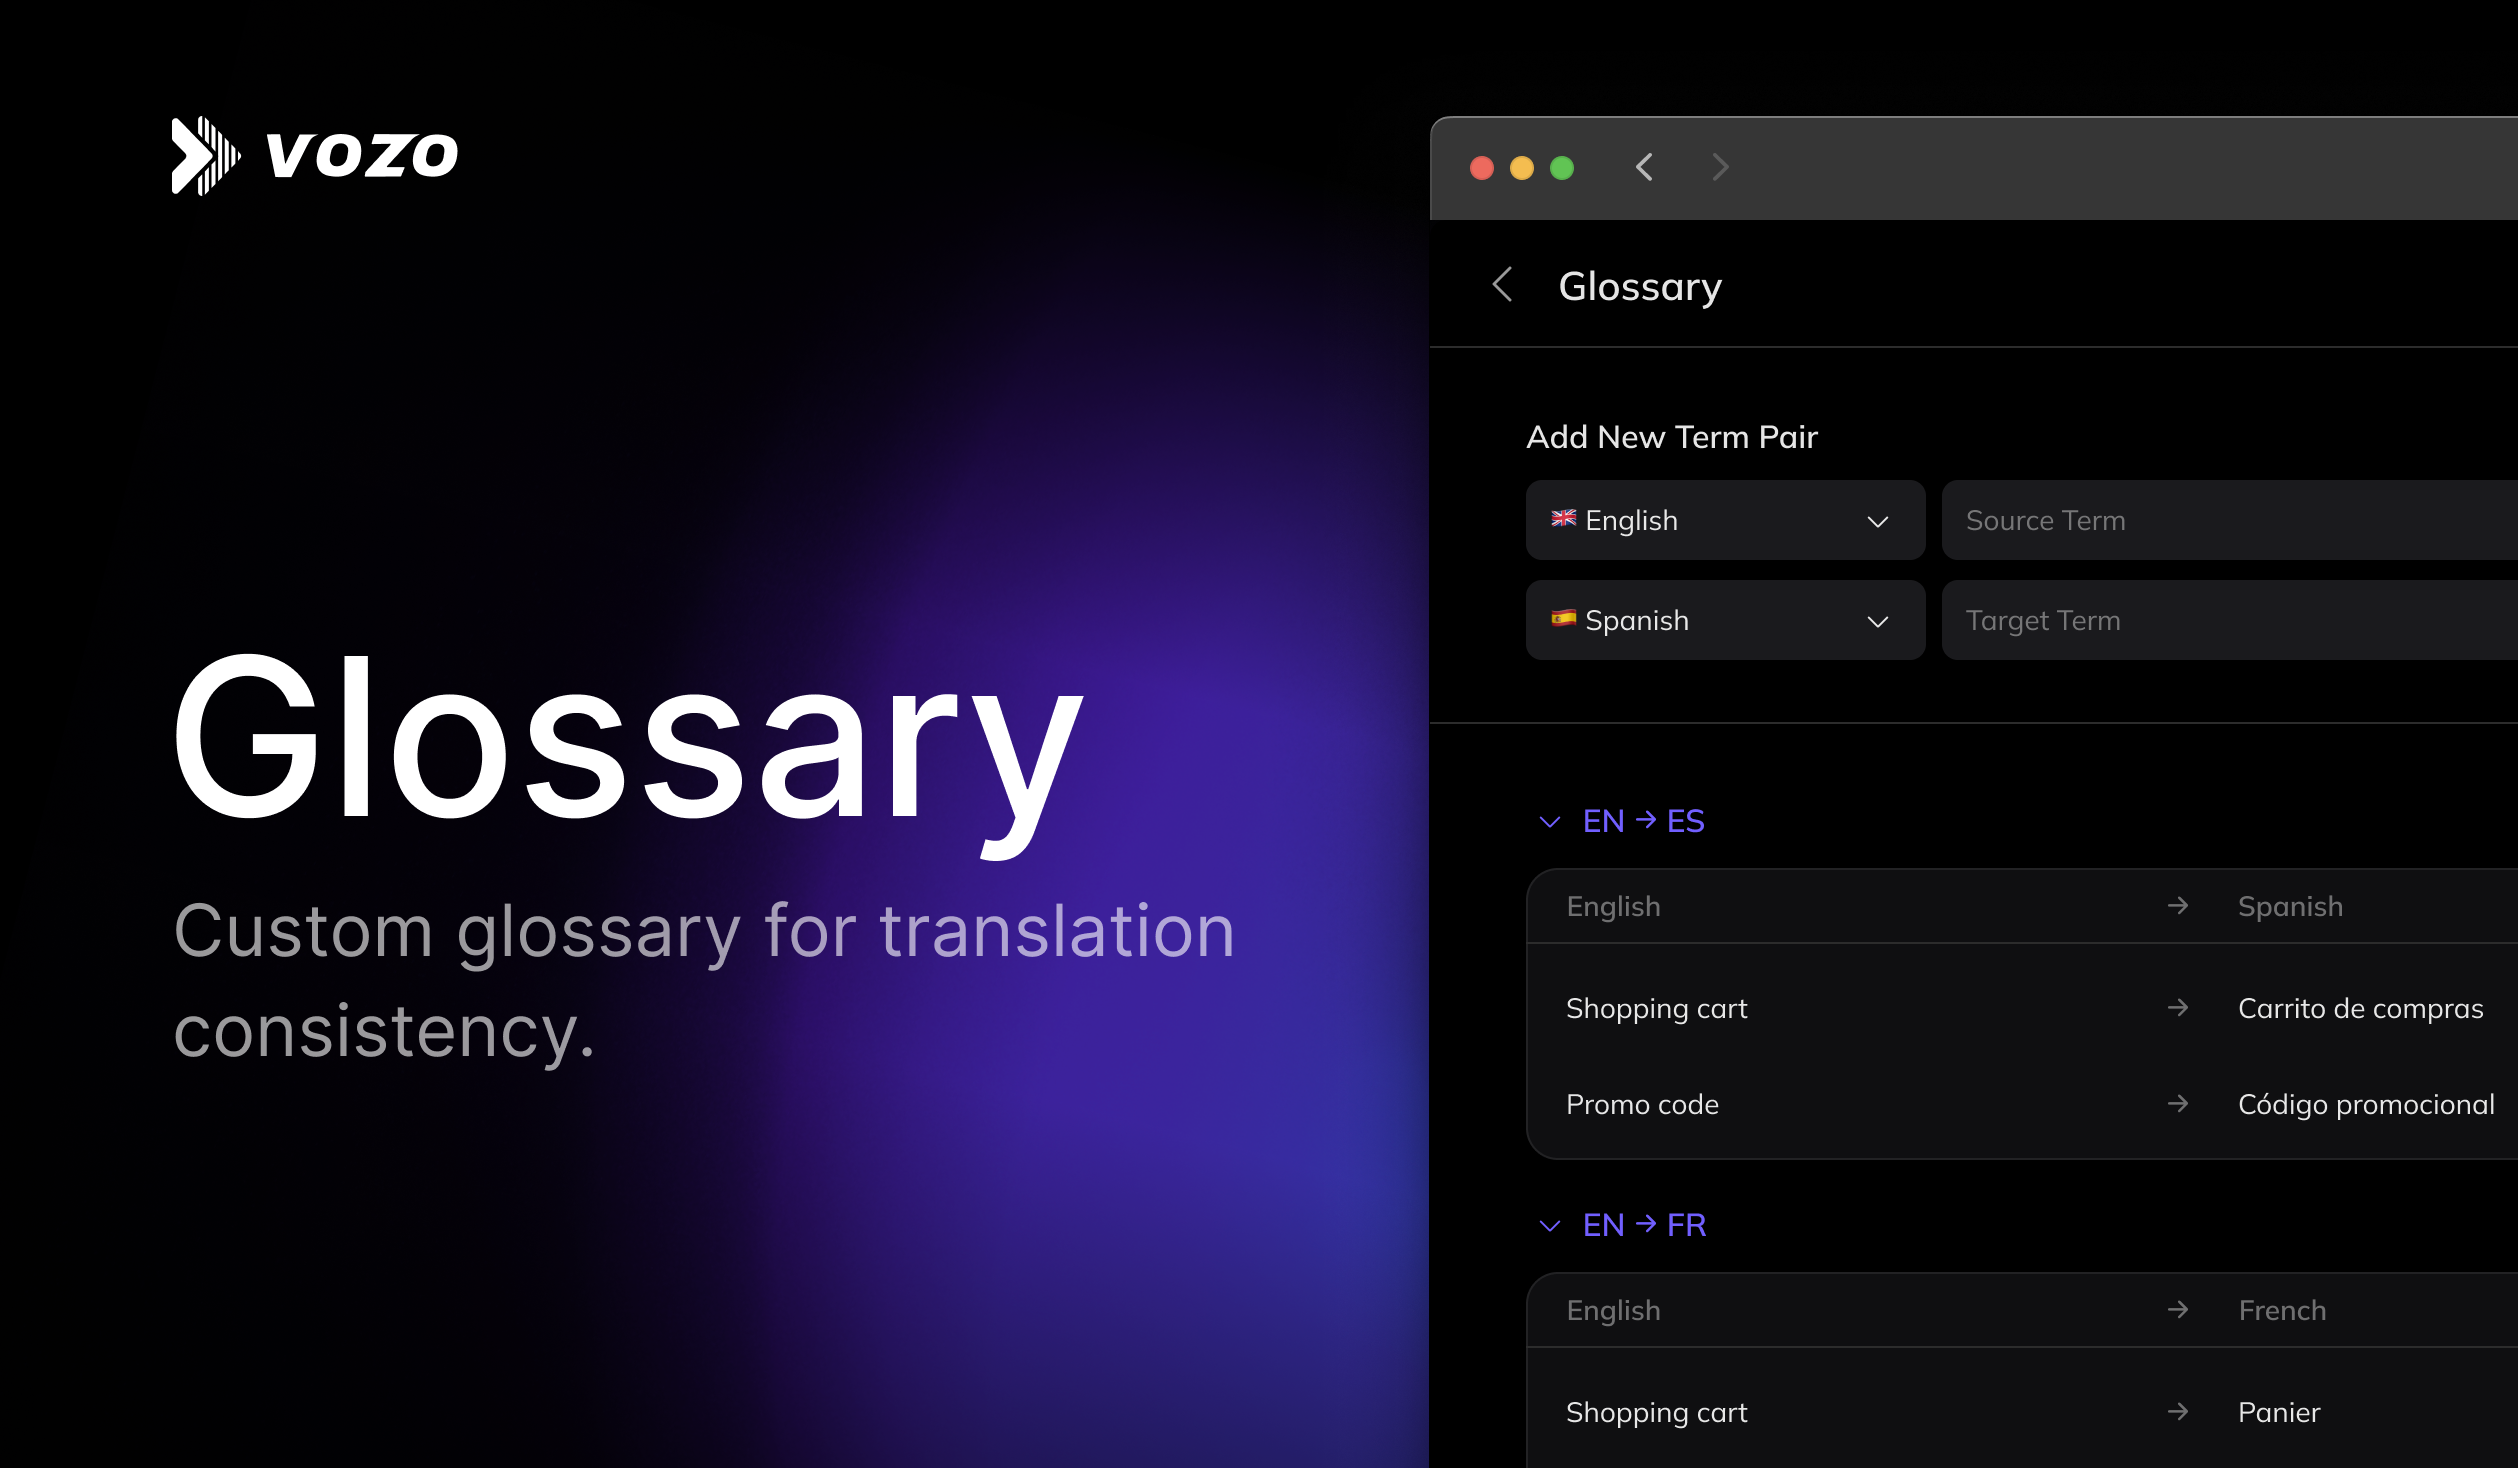
Add New Term Pair
To add a term manually:- Select the source language and target language.
- Enter the source term and target term. Check Do not translate if you want to preserve the original term in the output, such as brand names.
- (Optional) Add a pronunciation to guide dubbing output. Pronunciation only applies to Translate & Dub.
- Click Add Term Pair.
Import from CSV
To import multiple terms at once from an existing glossary file:- Click Import.
- Prepare a
.csvfile with 5 columns:- Source Term
- Target Term
- Source Lang Code
- Target Lang Code
- Pronunciation (optional)
- Do not include a header row—the first row will be treated as a term pair.
- Drag your file into the upload area or click to select it.
- Click Import to upload.
Use Glossary in a Project
When creating a Translation Project, you can choose one or more glossaries in the Advanced Settings section.- Expand the Advanced Settings.
- In the Glossary dropdown, select one or more glossaries.
- The selected glossaries will guide translation. If any term conflicts exist across glossaries, terms from the glossary listed first will be used with higher priority.